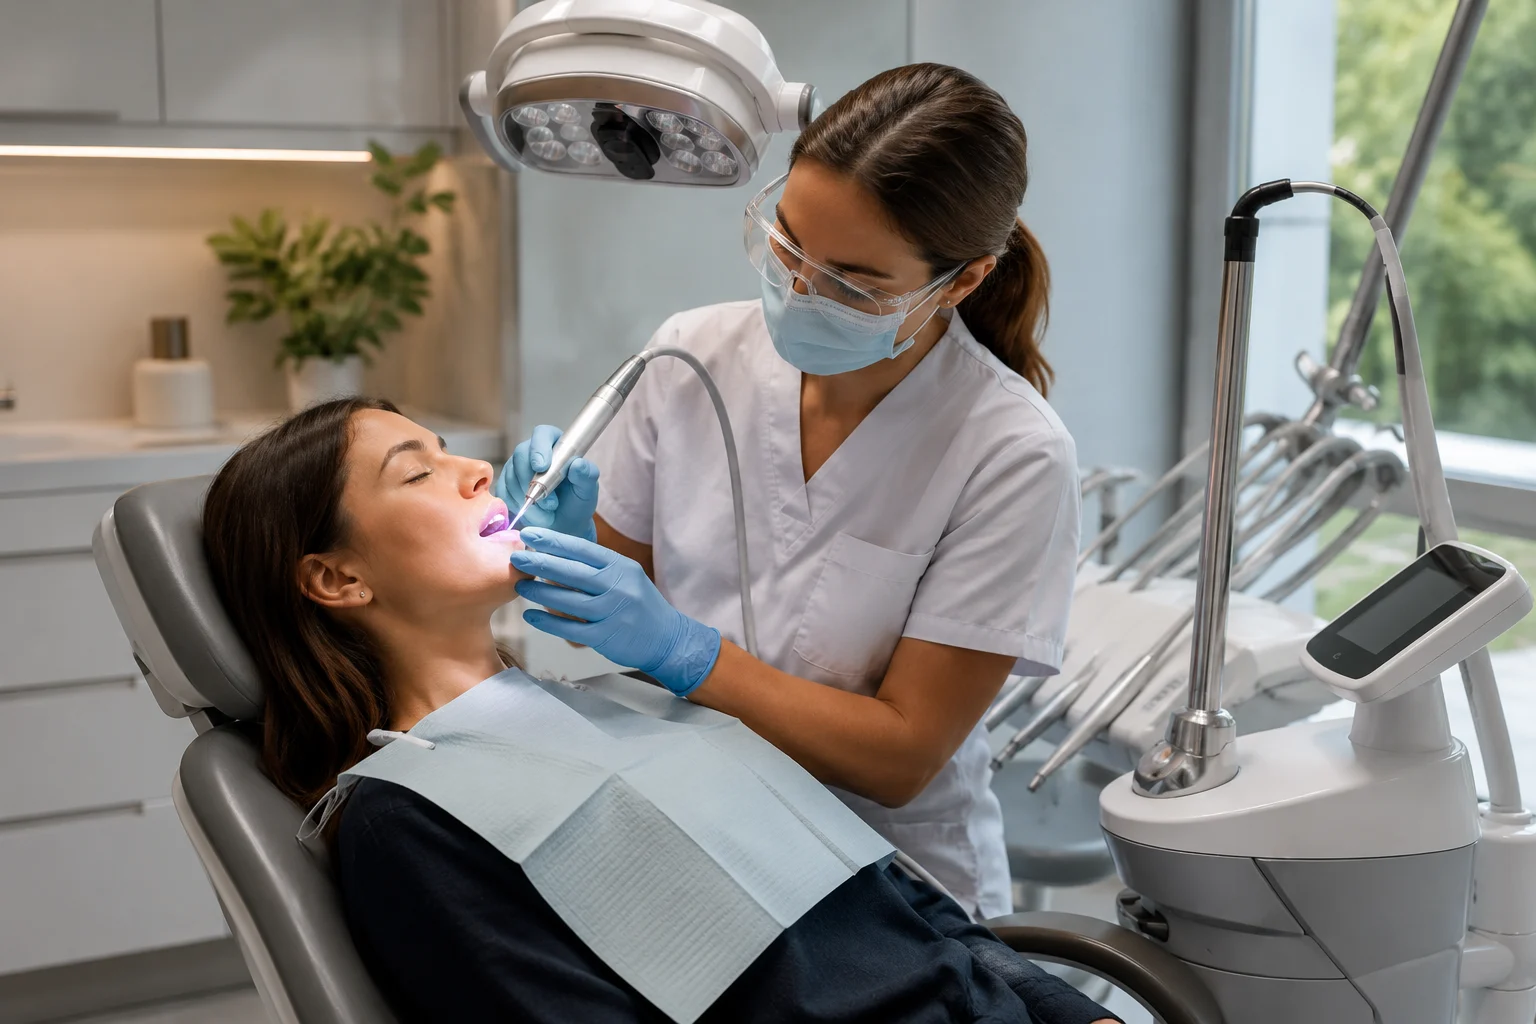
A dental laser demo should test ergonomics, workflow speed, fibre handling, cleaning steps, and post-sale support. Together, these five areas reveal problems that spec sheets and sales videos simply cannot.
We at GPIAG are covering this topic because many clinics spend $20,000 or more on a diode laser machine, only to watch it collect dust within months. The controls may feel awkward during procedures, while fibre preparation can slow down the workflow between patients. While promotional materials show off precision and wavelengths, they tend to skip everyday frustrations like sterilisation turnaround and cable management.
We’ll walk you through what to actually test during your demo, including handling, workflow, cleaning, training, and long-term support.
How Does a Diode Laser Work in Practice? Test the Controls, Fibre and Workflow
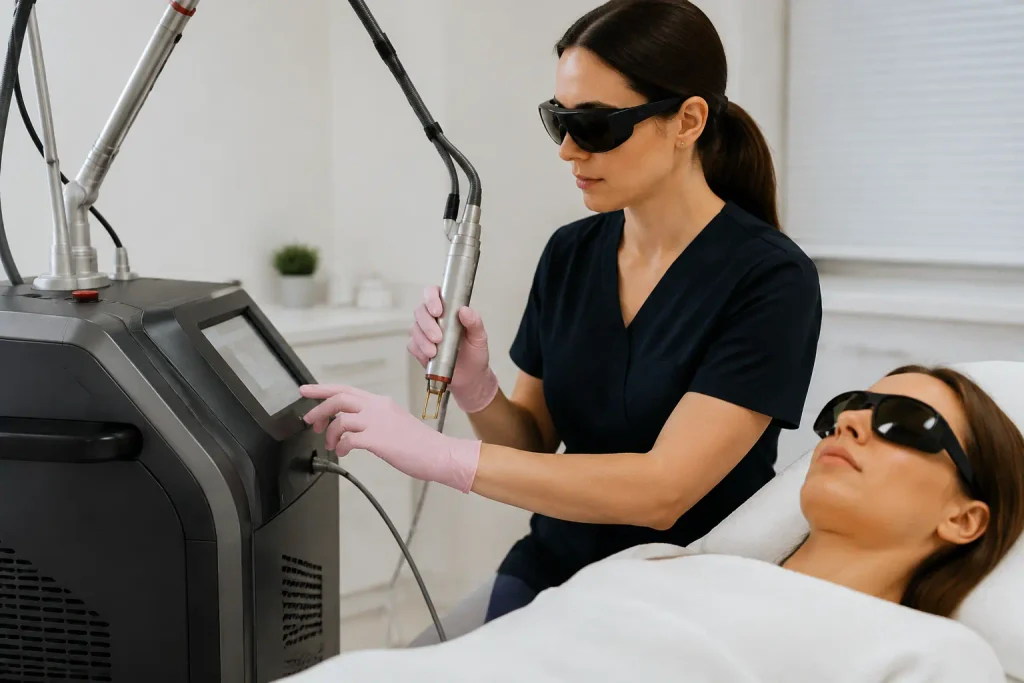
A diode laser produces a focused beam of light energy that interacts with oral tissue at specific wavelengths, typically between 810nm and 980nm. But understanding the science won’t tell you how easy the device is to control, adjust, and use during a procedure.
Here’s how to test it properly before you buy.
Test the Diode Laser Machine Controls and Ergonomics
Don’t just watch the sales rep operate the diode laser machine. Put on gloves and use it the way you would with a patient in the chair.
Start by holding the handpiece at your usual working angles for three to five minutes and watch for hand or wrist fatigue. If your hand or wrist becomes uncomfortable, ask if a lighter handpiece or different grip is available. From there, check screen visibility from your normal seated position. You should be able to read it without leaning forward or changing your posture.
Then test the foot pedal while keeping your usual posture. Here, a pedal that makes you stretch or move your foot awkwardly may need a different position.
After that, you should use gloved fingers to change the power levels and pulse modes. This will give you a better idea of how the controls will feel during a real procedure. Remember to count how many taps each preset change takes. Anything more than two or three will slow you down between patients.
Finally, wheel the unit around the dental chair to test how easily it moves. If it’s hard to turn or the cables get in the way, you should ask about other setup options. These simple checks can help you find ergonomic problems before they become daily workflow issues.
Check Dental Laser Fibre and Tip Handling
Fibre and tip handling directly affects procedure time. A slow fibre prep can add five to ten minutes per appointment, and that adds up across a full day. So rather than letting the rep do it, test every component yourself.
First, guide the fibre to the treatment site and check flexibility (especially around posterior molars where reach and visibility are important). If the fibre needs cutting or preparing before use, do it yourself so you can judge how much time and skill it takes. Then attach and swap tips as if switching between procedures mid-session.
Once you’ve tested the handling, ask which tips and fibres are single-use. Even a $15 fibre tip used every few procedures can add up to thousands of dollars a year.
The goal is to spot small, frustrating steps that could discourage your team from reaching for the laser altogether.
Compare Diode Laser Workflow With Your Current Treatment Method
Pick realistic cases your practice handles weekly, like soft tissue recontouring or crown lengthening.
We recommend timing the full setup from power-on to first tissue contact, then comparing that with your current technique using a scalpel or electrosurgery unit. Lasers may offer more precise tissue removal, but that benefit is only useful when your team can use the handpiece comfortably.
You can also ask the supplier or manufacturer for specific data on patient comfort and healing timelines. For example, if a supplier says a 650nm wavelength can reduce healing time by up to 40% after extraction, ask to see the research supporting that figure.
Quick Tip: Time each step with a stopwatch. This will give you a direct comparison and show whether the laser is actually faster than your current method.
Dental Laser Equipment Evaluation: Cleaning, Training, Consumables and Support
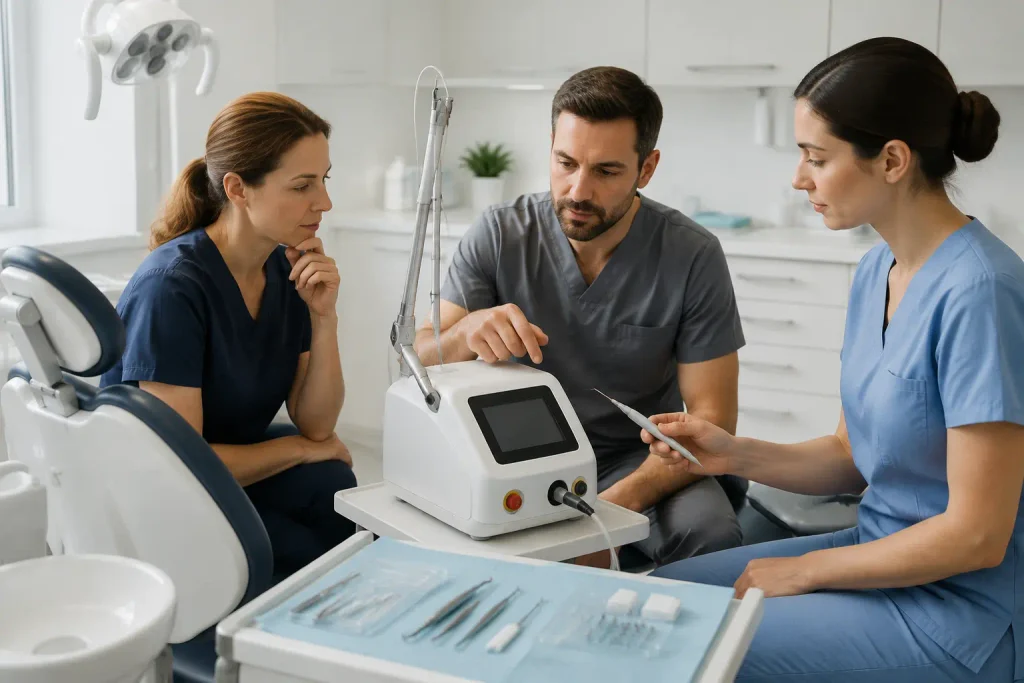
Cleaning workflows, consumable costs, training depth, and warranty terms all play a role in whether your team keeps using the laser after the first few weeks. So alongside testing performance, this is how to evaluate the ownership side during your demo.
Test Dental Laser Cleaning and Patient Turnaround
The demo shouldn’t end when the simulated procedure finishes. After all, the cleaning, disinfection, and reset process is what your team will repeat dozens of times each week. That makes it just as worth evaluating as the procedure itself.
So ask the representative to walk through each of these steps while you observe:
- Shutdown After Treatment: Watch the full power-down sequence and note how many steps it involves before the device is ready to clean.
- Cleaning and Disinfection: The wiping and disinfection process should be straightforward. So pay attention to which agents are approved and how long each step takes.
- Components Requiring Sterilisation: Some parts will need autoclaving (sterilising them with high-pressure steam) between patients. Measure how much time this adds to your turnaround during the demo.
- Fibre and Tip Disposal: Single-use items usually make cleanup easier, while reusable ones need cleaning and sterilisation between patients. This can affect turnaround time and cost.
- Storage Between Procedures: Operatory space is often tight, so check whether the device and its accessories store neatly without cluttering your setup.
- Protective Goggles and Accessories: Safety items like protective goggles should come included with the purchase, rather than listed as paid extras you discover later.
- Preparing for the Next Patient: To wrap up, ask the rep to reset the full unit as though the next patient were already waiting in the chair. This shows how long the full reset takes and whether any steps could slow down your clinic.
If possible, have the team member who handles room turnover evaluate this process themselves. They’ll notice time costs that a clinician focused on treatment might overlook. The main point is to find out how much extra work the device adds between patients.
Check Dental Laser Accessories, Consumables and Ongoing Costs
The advertised price of a diode laser rarely shows the total cost of ownership. Consumables, replacement fibres, tips, and other accessories can add hundreds or thousands of dollars to your annual costs. These are the expenses you should ask about before you sign anything.
What’s Included in the Box
You can start by finding out exactly what comes as standard with the device. Confirm whether fibres, tips, and protective equipment are included or sold separately as add-ons.
Consumable Pricing and Replacement Frequency
From there, request a full list of consumable items along with per-unit pricing. Then ask how often each item needs replacing based on typical clinical use. As we mentioned, a $15 fibre tip swapped every few procedures can add up to thousands annually.
Servicing Requirements
Also ask about ongoing maintenance before you buy. Some manufacturers recommend yearly servicing, which comes with an additional cost. While the laser’s heat can sterilise the treatment area on contact, the device itself still needs regular maintenance, and some parts may need replacing over time.
Ask What Dental Laser Training Is Actually Included
“Training included” can mean anything from a full hands-on workshop to a thirty-minute video call. That’s why it’s worth pinning down the specifics before you commit:
- Who Receives Training: Some programs only cover the lead clinician, so confirm upfront whether your dental assistants and other team members are included too.
- Hands-On or Online: Live practice with the device builds confidence far faster than watching a pre-recorded module. That hands-on experience is especially important when your team is working with tissue at close range.
- Refresher Training: Skills can fade without reinforcement over time, and knowing whether follow-up sessions are available gives your team a safety net down the track.
- New Staff Access: New staff may join your practice later. Make sure any new clinician or assistant joining months after purchase is still able to receive the same level of onboarding as the original team.
- Training Duration: Ask exactly how many hours or days the full program runs. Because, believe it or not, a two-hour overview barely covers what most teams need to learn.
- Ongoing Technical Support: Your team may have questions during procedures, especially in the first few months. Find out who they can contact and how quickly they usually respond.
Confidence with the technology builds over weeks and months of regular use. That only happens when your team has continued support to fall back on, not just one introductory session at the start.
Choose the Right Dental Laser for Your Practice
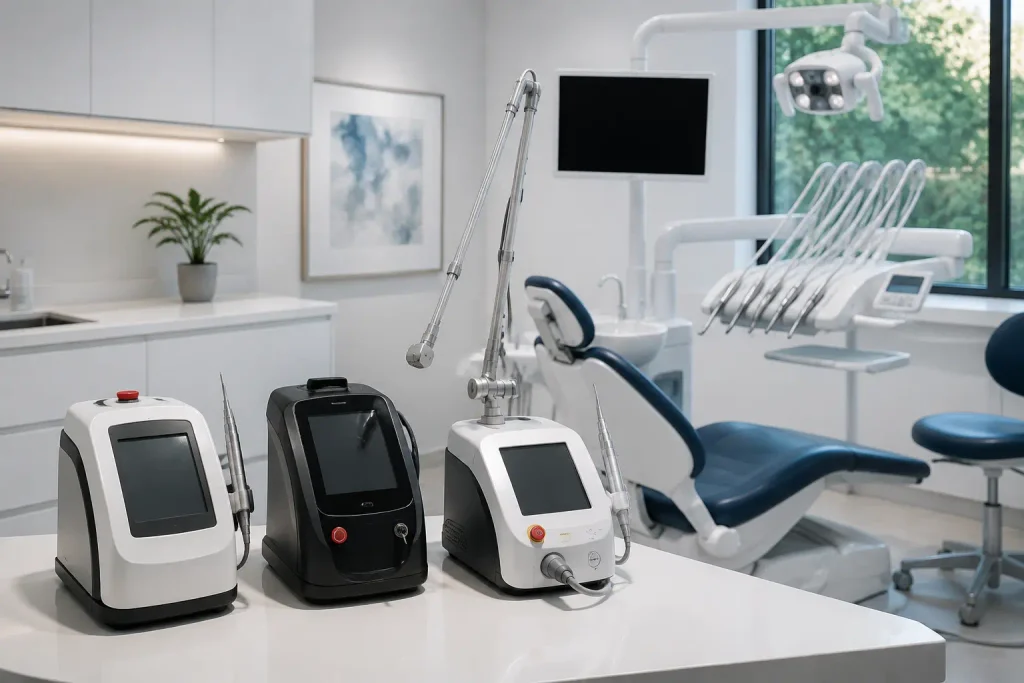
Don’t pick your dental laser equipment straight after an impressive demo. Instead, give yourself time to compare properly. Use the same scorecard for every device you test, and where possible, have different team members score each one on their own.
Your scorecard should cover ergonomics, fibre handling, clinical workflow, cleaning turnaround, consumable costs, training, warranty, and support. It should also show how likely your team is to use the device regularly.
It’s also worth remembering that the cheapest option isn’t always the best investment. Similarly, the longest feature list doesn’t always mean the right fit for your practice. What’s most important is whether your team will confidently reach for it day after day.
Ready to test a diode laser in real clinical conditions? Contact GPIAG to discuss your options.