Staff should learn laser safety rules and hands-on device handling before your practice adds laser dentistry to daily patient care. That new laser in the corner of the surgery helps nobody until the whole team can run it safely.
Laser dentistry training covers far more than pressing a button. Dental laser safety, the right settings for hard and soft tissue work, and simple troubleshooting all need attention before your first case.
This guide walks through what staff should learn first, from safety basics to a clinical education plan your whole dental practice can follow. Let’s get into it.
Laser Dentistry Training: Where Practice Onboarding Should Begin
Most practices switch on a new laser long before staff feel ready to use it. Onboarding works best when it starts weeks ahead of the first booked patient, not on the afternoon the courier drops off the box.
Here is the thing. Three building blocks shape those early weeks, and each one sets up the next.
What a Basic Laser Safety Officer Course Covers
Day one covers laser classification, eye protection for everyone in the room, controlled access to the surgery, and the records your state regulator wants to see.
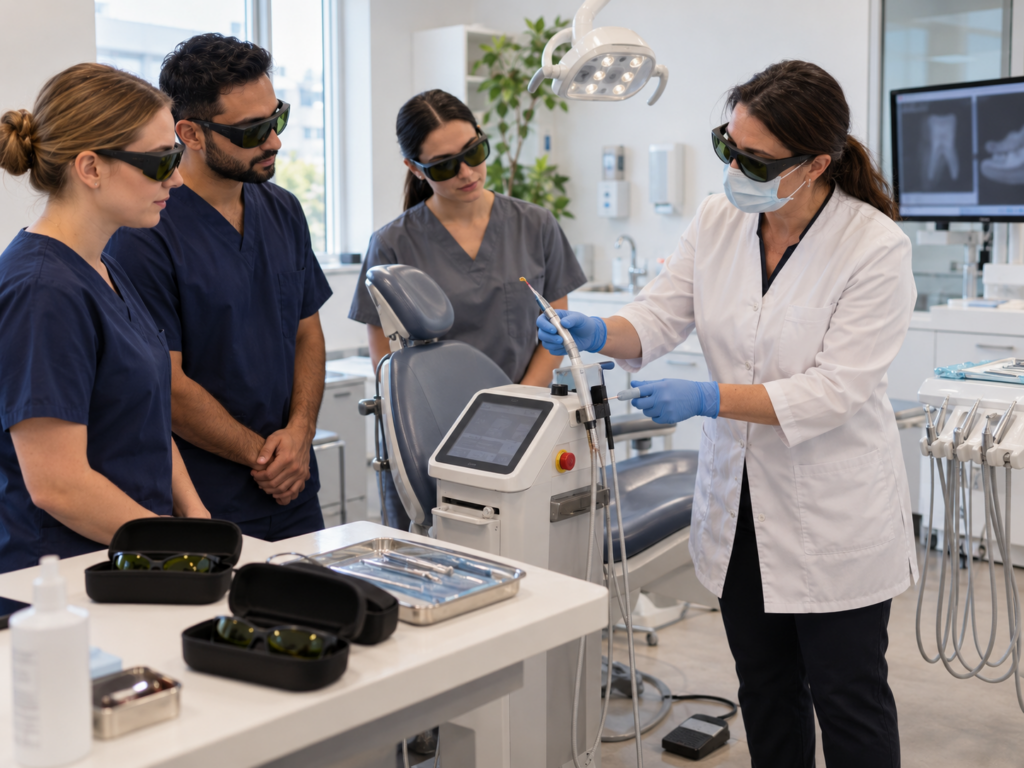
Most of these courses run for a single day. Better ones finish with a short assessment and a certificate in laser safety you can count towards CPD.
The Dental Board of Australia sets a minimum of 60 hours of continuing professional development every three years, so that paperwork earns its keep.
One team member then steps up as the Laser Safety Officer, checking goggles, signage, and the key before any laser use begins. Their safety officer certificate should sit in the practice folder, not a drawer at home.
Reading the Equipment Manual for Your Laser Devices
Manufacturers write the manual for a reason. It holds the power settings, tip choices, and cleaning steps that no general course can cover for every device.
We’ve watched practitioners guess at settings for a simple frenectomy, which wastes chair time and unsettles patients (the guessing always shows).
Wavelengths differ between laser types, so a course built around one device may not cover yours. Diode lasers fill most Australian surgeries, though two laser systems can label the same setting in different ways.
Read the troubleshooting pages too. An error code on a Monday morning is easier to clear when someone in the room knows what it means.
Setting a Realistic Clinical Training Timeline for New Staff
Give new staff about four weeks between their safety course and their first assisting shift. Clinical training should overlap that gap rather than follow it.
During those weeks, they can watch two or three laser procedures, hold the laser devices with the beam off, and practise the shutdown until it feels automatic.
In our experience, nurses who get that run-up stop reaching for the manual by week three and start anticipating what the dentist needs next.
Which Laser Safety Rules and Laser Hazards Must Staff Learn First?
Staff must learn classification, eye and skin protection, and emergency shutdown steps before clinical use. Regulators across Australia treat these as the floor, not the finish line.
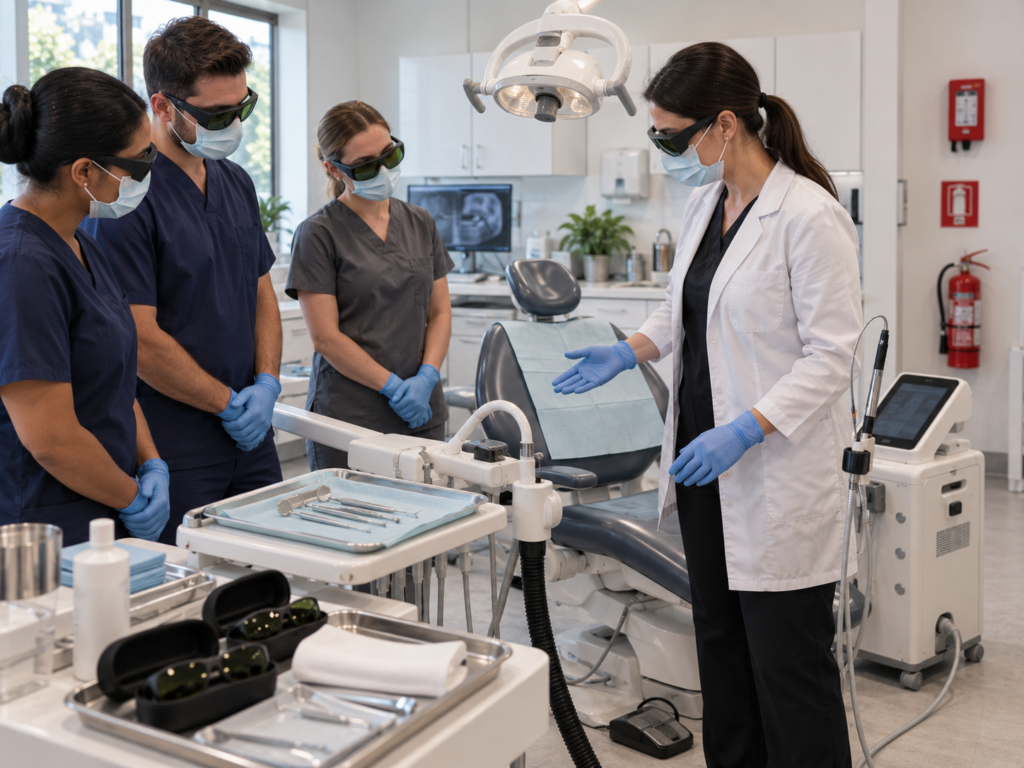
ARPANSA classes any laser above 500 milliwatts as Class 4, which covers almost every surgical unit sold to dentists. Laser hazards go beyond the beam itself, because plume, reflected energy, and hot fibre tips all carry risk.
Four rules carry the most weight once the surgery door closes.
- Laser Classification: A Class IV laser cuts and seals tissue, so it needs a controlled room, clear signage, and a named Laser Safety Officer on every list.
- Protective Eyewear: Everyone wears goggles rated for the exact wavelength, since diode lasers, MLS, and Nd:YAG units need different filters. Mixing laser types in one surgery means labelling every pair.
- Tissue Shielding: Wet gauze around the site guards nearby teeth, gums, and lips from stray energy during longer laser treatments.
- Emergency Shutdown: Anyone in the room should reach the key or footswitch and stop the beam in under three seconds.
Verdict: These four rules take one day to teach and protect your patients for years. Write them into your induction checklist so no new starter slips through.
Dental Laser Equipment Requires Hands-On Workshop Time
Beyond classroom theory, the real benefit of a hands-on workshop is confidence with the laser on day one. Reading about power settings and feeling a handpiece move across tissue are two different skills.
Supervised hands-on hours are where the clinical applications click, from frenectomy to gum troughing. Hard and soft tissue work need different tips, different power, and a steadier hand than most people expect.
| Course element | Typical time | What staff gain |
|---|---|---|
| Theory and classification | 4 hours | Eyewear, room control, state rules |
| Supervised handpiece work | 3 hours | Settings, angles, tissue response |
| Setup, cleaning, checks | 1 hour | Daily testing, fibre stripping |
Book the practical session close to your delivery date so the muscle memory stays fresh. Practices that split the two by several months usually pay for the workshop twice.
Dental laser training providers differ a lot, so ask for the run sheet before you pay. Ask whether the day ends in laser certification or simple attendance, because the two are not the same. Your certificate in laser use should name the device and the hours you completed, and it is not a licence on its own.
Building a Laser Dentistry Training Plan for Your Whole Team
With the safety basics clear, plan training for the whole team rather than one keen clinician. Good laser dental care depends on everyone, not one confident operator.
Front desk staff book the right appointment length, nurses prepare the room, and the dentist runs the case.
Map who touches the laser dental equipment and how often, then match the depth of clinical education to that answer. Hygienists using lasers in dentistry weekly need more course time than a receptionist who screens patients for pacemakers and light-sensitive medication.
Match the clinical applications to the people who will run them, then list the laser procedures you plan to offer in the first year. Reception also needs enough background to describe laser treatments to nervous patients.
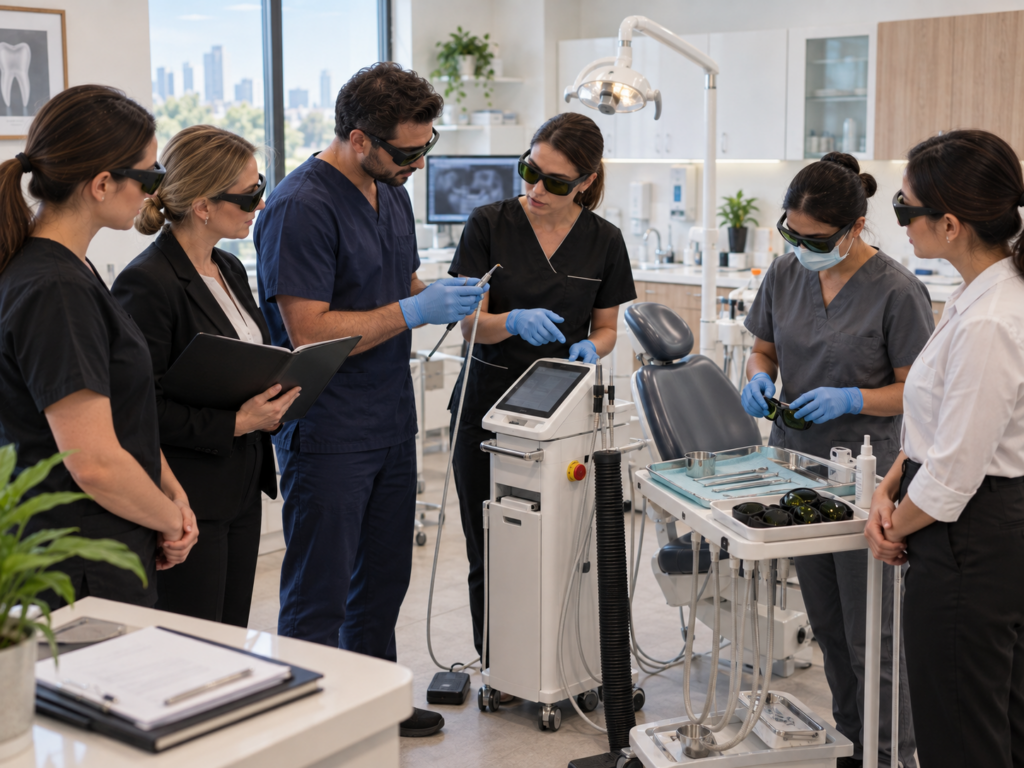
Honestly, refresher events belong in the calendar every twelve months, because settings drift and staff leave. Ask any practice manager who has booked these events and they will tell you the practical hours are what stick.
One practice we work with in Western Australia keeps a laminated settings card taped inside the laser trolley (it beats a 90-page manual). New nurses read it before every case, and small habits like that protect oral health better than one big training day.
Give one person ownership of the roster, the safety officer certificate, the laser certification records, and the service log (usually the practice manager, not the dentist). Otherwise everyone assumes someone else booked the course.
Ready to Bring Laser Dentistry Training to Your Practice?
Bottom line: laser dentistry rewards teams who learn the safety rules first and the clinical technique second. Teams who know their laser systems protect patients and get far more from the equipment you have already paid for.
Book the safety officer course, set a sensible timeline, and give nurses supervised hands-on time before the first case. Planned weeks now save months of hesitation later.
GPIAG supplies and supports ASA dental lasers for practices across Australia, covering TGA approval, radiation health licensing, and full servicing. Contact us for guidance on dental laser safety and compliance. Ready to bring lasers in dentistry into your rooms the right way? Talk to GPIAG.